Simple Arch from Scratch Install
Uncategorized“I use Arch btw”
I like using Arch, however, it was something that I always had difficulty with. I got frustrated at the archinstall command and figured for me at least, it would be simpler to install it manually. I tried many things, but would fail. I finally found a formula that works for me. This install is based on booting UEFI. This follows directions I found at https://github.com/dreamsofautonomy/arch-from-scratch. In that he goes into setting things up differently than how I do, and maybe that set is better than mine for your needs, or at least has options I don’t cover.
Prepare installation media
First thing to obviously do is download the ISO from https://archlinux.org/download/. Once that is downloaded you need to get it ready to use. I know there are ways to create a bootable drive, but since I do not usw Windows at all, I am unfamiliar with how they work I’m sure there are a ton of tutorials for that. For me I use a quick method on an already Linux computer. I’m going to assume my iso is named “arch.iso” and my usb drive is /dev/sdbdd if=arch.iso of=/dev/sdb
This will remove all data from the USB device, so make sure you don’t need what is already on there. If you are doing this on virtualbox or vmware, then all you need to do is point it to the iso when you set up your VM
Boot the ISO
Like I previously said, this covers UEFI. One trick to know you are booting UEFI is the first prompt you get when it boots.
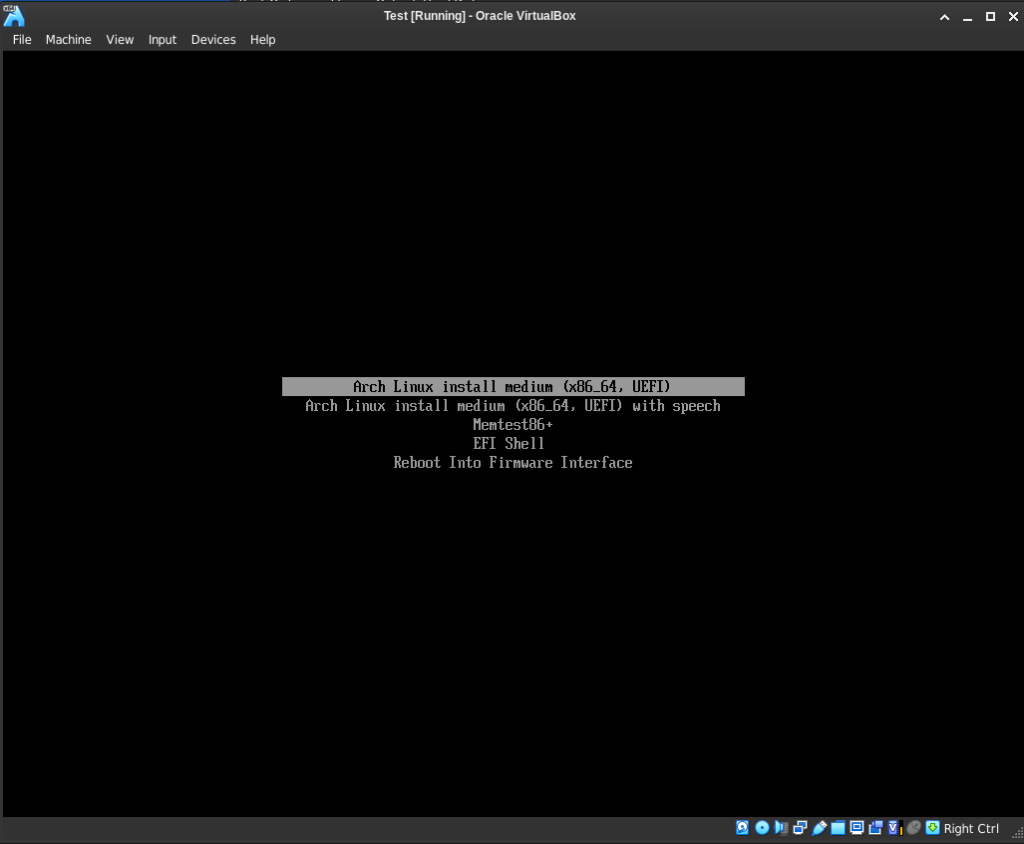
This is the screen you should see. If you see a more colorful one, then you are booting in BIOS Mode. That is fine, and everything should still work. You will just have to adjust your commands once we get into the grub portion.
Once it boots, you come to a simple terminal window

If you are using a VM or the asset is in another room, and you want to just copy/paste commands from here to there, then you can ssh. First thing you will do is find your ipip a

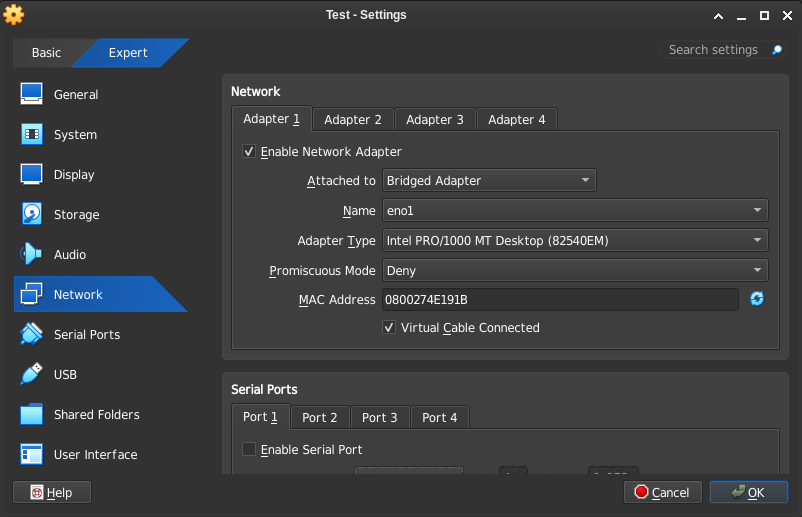
From here you can see my IP is 10.0.2.15. I am building this on virtualbox. It currently has a NAT network. It will reach out to the internet just fine, however, you will need to switch it to a bridged network in the VM setting in order to SSH into it.
The next thing to do is set the root passwordpasswd
Set the password to anything at this point. This is not your root password for your system, it is only for the installation. No need for high security here.
The last thing to do is to make it so root can SSH into the machinenano /etc/ssh/sshd_config
Uncomment the line that starts with “PermitRootLogin”, and change prohibit-password to yes. Hit CTRL+X , y, and enter to continue. Then restart ssh and you should now be able to log in.systemctl restart sshd
From another computer: ssh root@10.0.2.15, of course changing your IP to yours
Setting up the disks
First thing I do and I search and make sure not only my disks are listed, but I know which ones I want to install on.ll /dev/sd*
On VMs, they might be listed under vd* instead of sd*. If you do not see it under one, try the other

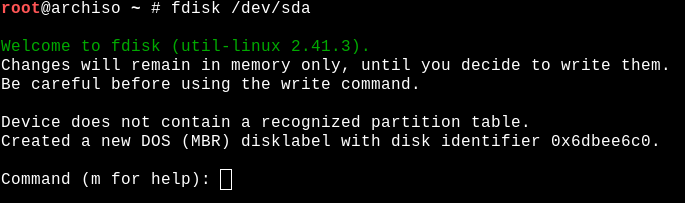
This shows I have 1 disk without any partitions. You will first need to partition it.fdisk /dev/sda
This will open up the fdisk utility.
Create your first partition. This will be your “/boot/efi” partition. If you are installing this under BIOS, skip this step
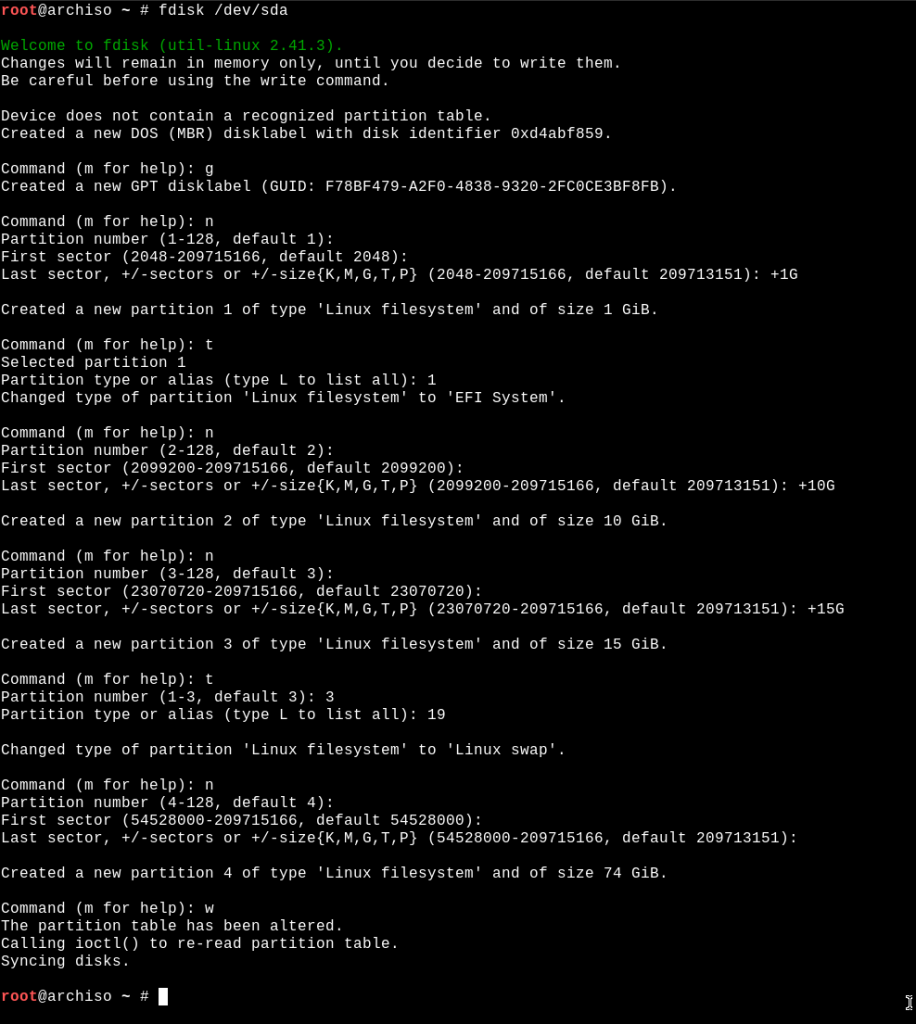
First type “g” to ensure you are using gpt
Type “n” for new, “p” for primary, “1” for partition 1 (or hit enter), Hit enter when it asks about the first sector, type “+1G” for the last sector, Hit enter. You will need to change the type of the partition so type “t”, then “1” for EFI.
The next partition will be your boot partition
Type “n” for new, “p” for primary, “2” for partition 2 (or hit enter), Hit enter when it asks about the first sector, type “+10G” for the last sector, Hit enter.
If you want a swap set that up
Type “n” for new, “p” for primary, “3” for partition 3 (or hit enter), Hit enter when it asks about the first sector, type “+15G” for the last sector, Hit enter. You will need to change the type of the partition so type “t”, then “3” for the partition number, then “19” for swap.
Last partition is your root partition
Type “n” for new, “p” for primary, “4” for partition 4 (or hit enter), Hit enter when it asks about the first sector, hit enter for the last sector to use all remaining space, Hit enter.
You might have extra disks, or need to add extra partitions. Set those up according to your needs
Once you are finished partitioning the disk, type “w” to write the partition data to the disk
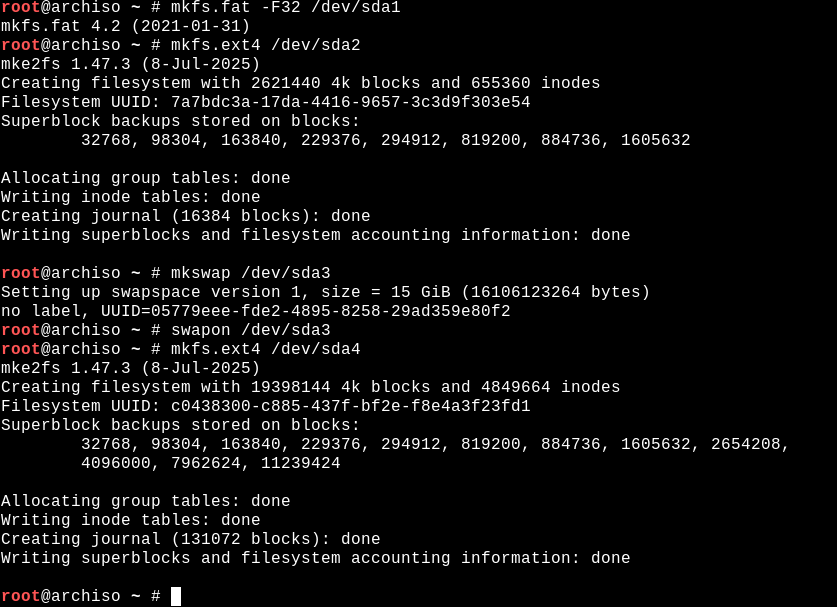
Now we need to format the partitions.mkfs.fat -F32 /dev/sda1
mkfs.ext4 /dev/sda2
mkswap /dev/sda3
swapon /dev/sda3
mkfs.ext4 /dev/sda4
The last thing we need to do is mount the disks, and create a /boot, and /boot/efi directorymount /dev/sda4 /mnt
mkdir /mnt/boot
mount /dev/sda2 /mnt/boot
mkdir /mnt/boot/efi
mount /dev/sda1 /mnt/boot/efi
Installing the base packages
pacstrap -K /mnt base base-devel linux linux-firmware
This will install all the base packages and prepare it for a chroot environment
Now, you need to set up the fstab in your new install. genfstab -U -p /mnt > /mnt/etc/fstab
All that is left is to chroot into your new systemarch-chroot /mnt /bin/bash
Configuration
Some tutorials have you install packages individually. I tend to install everything I need in one go, and then carry on from there. Note: These are the packages I install for a barebones system. You can add more, make changes, set your system up however you want/need. This is just my way.pacman -S nano efibootmgr grub sudo intel-ucode networkmanager openssh wget rsync fcron chrony ufw apparmor unzip less linux-headers clamav
Once that is completed, you are ready to configure.
I use nano instead of vi, so I have to make a change in fcron to switch the editorsed -i 's/vim/nano/' /etc/fcron/fcron.conf
Be sure to enable the services so they start on bootsystemctl enable sshd NetworkManager clamav-daemon apparmor ufw chronyd fcron
GRUB
Grub is necessary in order to boot your new Linux distribution. Depending on UEFI vs BIOS you have different commands.
UEFI:grub-install --efi-directory=/boot/efi
grub-mkconfig -o /boot/grub/grub.cfg
grub-mkconfig -o /boot/efi/EFI/arch/grub.cfg
BIOS:grub-install /dev/sda
grub-mkconfig -o /boot/grub/grub.cfg
Misc Configuration
Set your timezone: ln -sf /usr/share/zoneinfo/US/Eastern /etc/localtime
Set your locales: nano /etc/locale.gen – Uncomment the language you use and then run locale-gen
Set your hostname: echo "hostname" > /etc/hostname
Users and passwords: Now you need to set up the root password for your system, and it could be helpful to set up a user account with sudo access.passwd
useradd -m -G wheel -s /bin/bash username
passwd username
You need to add the wheel group to your sudoers configEDITOR=nano visudo
Uncomment this line: %wheel ALL=(ALL:ALL) ALL
CTRL+X, y, and hit enter
One last thing I like to do is to get ll working. ll is an alias for ls -al, and just makes it easier for my to type
echo “alias ll=’ls -alF'” >> /etc/bash.bashrc
echo “alias ll=’ls -alF'” >> /home/username/.bashrc
echo “alias ll=’ls -alF'” >> /etc/skel/.bashrc
Finalizing
The basic setup is now complete. You should have a working minimal install of Arch ready to boot into. To end, first you must exit the chroot environmentexit
Then unmount all mounted partitionsumount -R /mnt
Finallyreboot
Conclusion
I hope you found this tutorial helpful, whether you followed along completely or just grabbed a command or two. I’m sure there are probably better and different ways to do this, this is just what I found to work for me.